Every year, we drill approximately 90+ wells for both residential and commercial clients. For every project we complete, we encounter some similar questions about the well drilling process and how it works. Our goal is to help simplify and demystify the process from start to finish so you know exactly what to expect when you commission a well to be drilled on your property.
Well Drilling Basics
Well drilling requires specialized equipment, experience with the surrounding environment, and some important prep work. As you begin making plans for your new water well, we recommend checking out our blog about preparing your property for well construction. This will guide you through the permitting and land prep process.
The substantial size of the rig used to drill your well means finding an appropriate location for your well. It is also helpful to understand the geology of your area and where your neighbors’ wells are located. This helps determine where you are most likely to encounter groundwater.
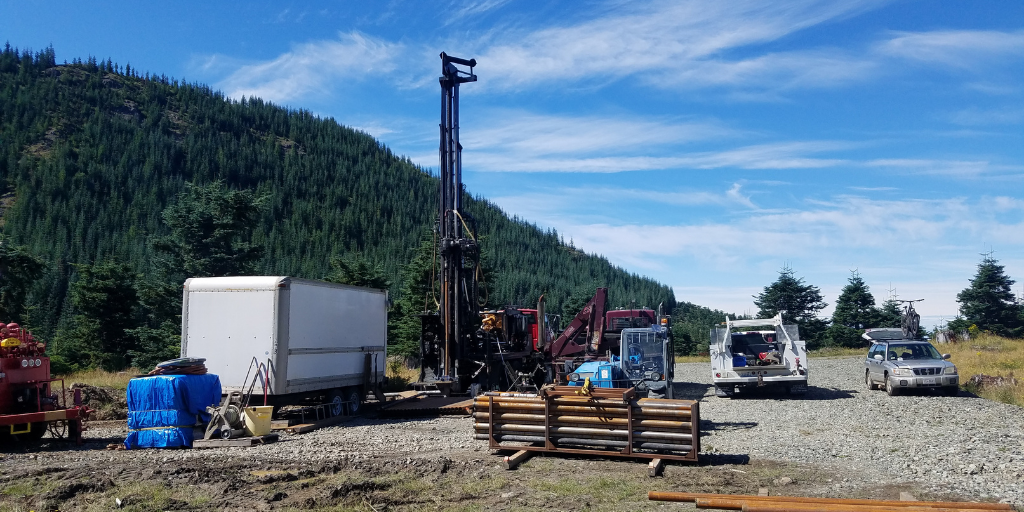
As you consider your well location, make sure your property allows plenty of access for the drilling rig. When drilling a new well, a substantial amount of space is needed to accommodate the equipment, tools, and even the cutting discharge (the dirt and rock that is removed from the hole…but more on that later!)
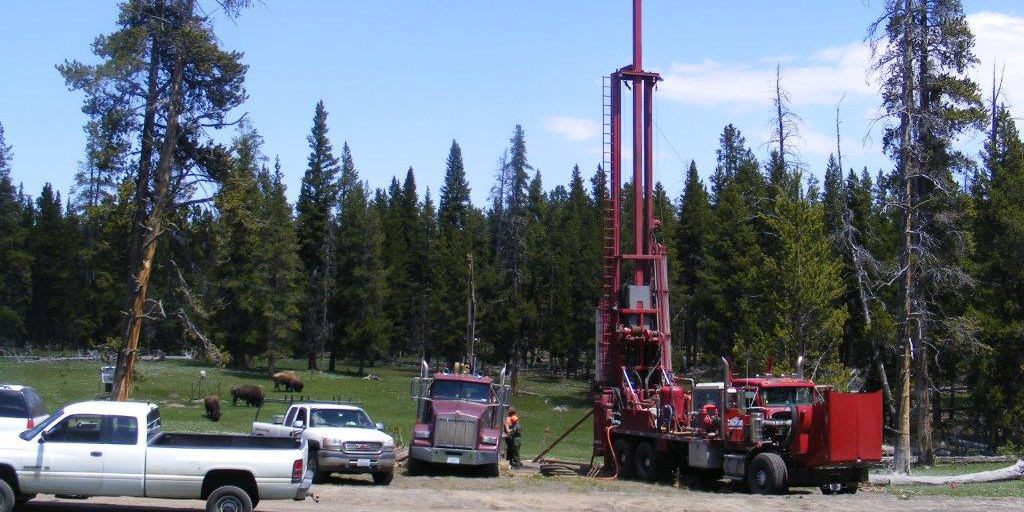
Your well will most commonly be drilled with a dual rotary drill. The 45-foot rig, and 40-foot support truck, require plenty of room and access to your property. The drill tower (or Derrick), will be raised 60 feet straight in the air, meaning obstacles like branches, powerlines, and light poles need to be taken into consideration.
Once the prep work is complete—your permits are in order, you pick an appropriate spot for your well, and you’ve hired a licensed driller—it’s time to bring in the rig and get to drilling!
How a Well is Drilled
The day of drilling, your crew will arrive on your property with a dual rotary drill rig and support truck. The support truck carries the water needed for the drilling process, as well as tools and equipment that may be needed for the job.
Once the drilling rig is in place, the crew will make sure it is leveled using special feet attached to the rig. Leveling is important to ensure the well is drilled perfectly straight. The drill tower is then raised and the first drill rod is set in place to begin drilling.
Drilling Through Overburden and Bedrock
The drill rods bore into the ground in 20-foot increments. They start by drilling through the overburden—the combination of dirt, clay, rock, and material that sits above the bedrock. Overburden can be a few feet deep, to a few hundred feet deep, so this part of the process takes time.
Drill rods are added every 20 feet until the drill reaches bedrock. It is somewhere within the bedrock that most groundwater is reached.
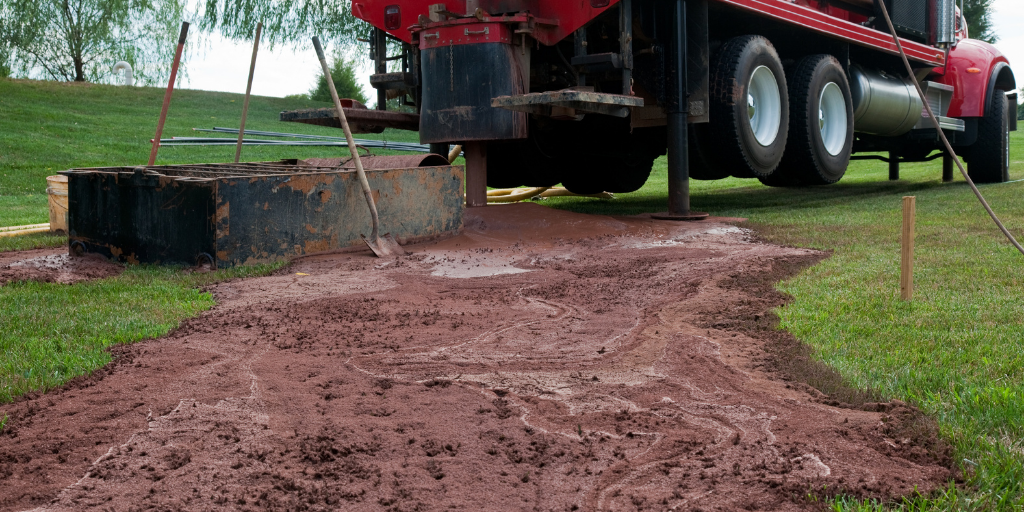
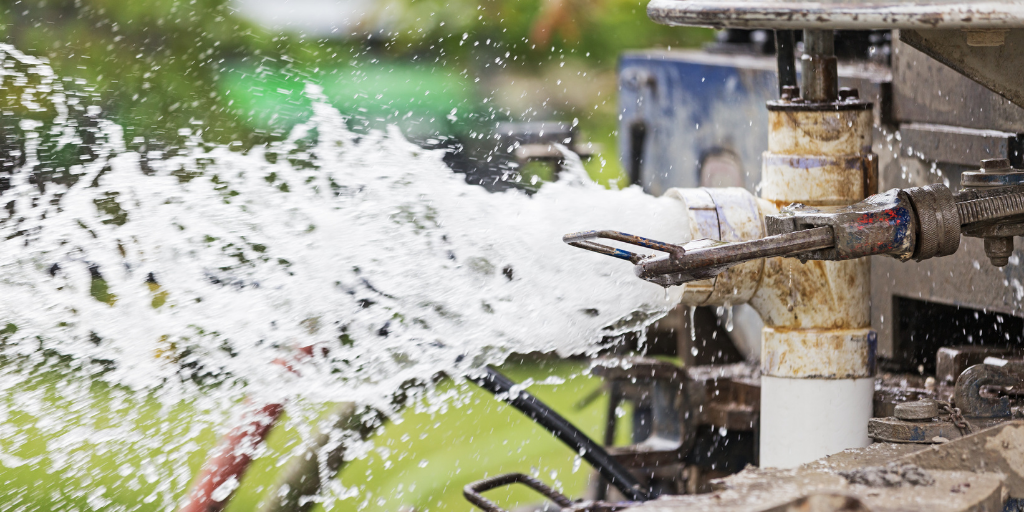
Throughout this process, you’ll see water and cutting discharge emerging from the hole that is being drilled. The water is actually water that is being poured directly into the hole to keep the drill rod lubricated and cooled as it drills. The discharge is the rock, clay, dirt, and other materials that are being removed from the hole.
Because of the tremendous amount of air pressure being used to drill, the air pushes the water and debris out of the well hole.
Installing the Casing
As the crew is drilling your well, they are also advancing the casing—a 6-inch wide pipe that extends down through the overburden and several feet into the bedrock. The casing, much like the drill rods, is also installed in 20-foot increments.
The casing serves an important role in the overall efficacy of your well. It is put in place to keep the overburden from seeping into your well and contaminating the water. Once the casing is installed, it will extend a few feet out of the ground. This ensures surface water and debris aren’t also entering the well from above.
A required part of the well drilling process is applying the surface seal around the casing. The first 18 feet of the casing is over drilled with a 10” borehole. Because the casing is a few inches narrower than the well hole itself, a bentonite surface seal is poured into the 18 feet of the hole surrounding the casing. When water is applied, the sealant expands and seals the casing from the surrounding overburden.
Finding Water
When bedrock is reached, your drilling crew will proceed forward paying special attention to the water coming out of the hole. When groundwater is reached, you’ll notice the water pressure increase significantly as water pours out of the well hole.
Your well drilling crew will likely continue drilling for several more feet once water is reached, to ensure the right amount of water to accommodate your household or property. It is possible to drill too far once water is reached, which is why it is important to work with a licensed drilling company.
Installing the Pump
Now that your well is drilled and has access to a good supply of groundwater, your crew will finish up by installing a pump and pipes to your well. The pump works to keep your house and water tank continually supplied with fresh water.
The pump sits below the water surface of the water, but above the bottom of the well. The groundwater, due to pressure, usually rises up the well, ensuring you always have a supply of water to be pumped into your house. Your well driller can tell you the water level of your well so you have an idea of how much water will typically be accessible, and how quickly it will refill.
It is important to remember to have your pump serviced regularly, and your well water tested, to ensure the safety of your water.
The PNW’s Premier Well Drillers
At Tacoma Pump and Drilling, we’ve been providing specialized well drilling services for over eight decades. Our familiarity with the region means we understand how to safely and efficiently drill long-lasting wells that will provide clean water to your home for years to come.
Contact us today for a drilling quote and to learn more about our drilling services
